Friday, April 18, 2014

Good Friday Snack

Hi All,

Happy/Sad Good Friday to you.  We made our "Crown of Thorns" snack today. Since this is the second year we did this I'm now going to call it our Good Friday tradition.  It's super delicious.  The kids look forward to it (as do I) and they're gobbled up in no time.  Of course it's a good opportunity to talk about Good Friday.  Why not do that while they're baking?


Recipe:

2 1/2 cups   All-purpose flour
3 tsp            Baking Pwd
4 tsp            Sugar
1 tsp            Salt
1 1/3 cup     Milk
2 Tbs          Melted Butter or Margarine

1. Mix dry ingredients together.  
2. Stir in the milk.
3. Knead to make the dough.  Add more flour if it's sticky.
4. Roll out into 10"X12" square.
5. Cut into 24, 10" long pieces. 
6. Follow directions for the crowns, or just bake them like soft breadsticks.
7. Place on a greased baking sheet (or use a Silpat liner) and brush them with melted butter.  Add sea salt (optional).
8. Bake @ 450 for 10-12 min.


Once you have your sticks cut you can either gather 3 strands and braid or 2-3 strands and twist them.


Form it into a ring.


Use scissors to cut the thorns.  Use the scissors or your fingers to push them upright as much as you can as the thorns may droop a little while baking and you won't notice them as much.


 Place them on your sheet and brush them with butter and salt.  Bake them like the recipe states.


Makes 8-12 depending on if you use the two or three strand method. Be cautious with little ones eating this since the thorns may be too pointy for them.  You may even not want to cut thorns and just bake them twisted or braided.

Hope you have a happy and Holy Easter.

Blessings,
Christina

Thursday, April 10, 2014

Much Better

Hi All,

Do you remember that wipeable kitchen bench pillow tutorial?  Well cue failure music, womp womp wooomp.


Yup.  Pretty terrible isn't it?  The glue didn't hold very well and the sewn lines were more like perforated lines beckoning to be torn.  It was just sad to look at every time you entered the kitchen.  I needed to do something which basically involved making another one.  I found a bright and cheery (which BTW is the theme we're going for in our house) outdoor fabric.  And now cue triumphant music, da da da daaa!


I followed the same tutorial as the green pillow but this one looks like it will stand up to more wear-and-tear than the other. And instead of gluing the opening closed, I was able to sew it closed which will make it sturdier.  Much easier to work with this fabric too. 

 This bench has had so many stages and I have learned so many skills and patience.  I also used up a lot a patience as well!  I can cautiously say it now feels complete.

Blessings,
Christina
Make It and Love It

Thursday, April 3, 2014

Craft Paint Storage

Hi All,

So in my last post I showed you my sewing room.  I mentioned my craft paints were stored in one of the cubbies, but that it wasn't organized.  Well I can't say that anymore.  Woo hoo!  It is all organized now.

Here is what my previous paint storage looked like.


Yep, it's all just piled in there. Nice huh?


Well, I couldn't take it any longer.  One trip to Michael's solved that.  I bought this cardboard drawer organizer.  It came in three different designs.  I chose this darker red, which funny enough is the dreary colour the sewing area used to be painted!  But I didn't like the other two design's so.....


I started by taking everything out of the bin.  It's amazing how much you can cram into a little bin.


I was able to relocate some of the items elsewhere and get rid of others.  I was left with a manageable pile and placed them in their drawers.  The top drawer holds all of our paintbrushes and watercolours.


The next drawer holds all of the acrylic paints and finger paints.  I didn't realized how much I had.  It's funny how that happens.


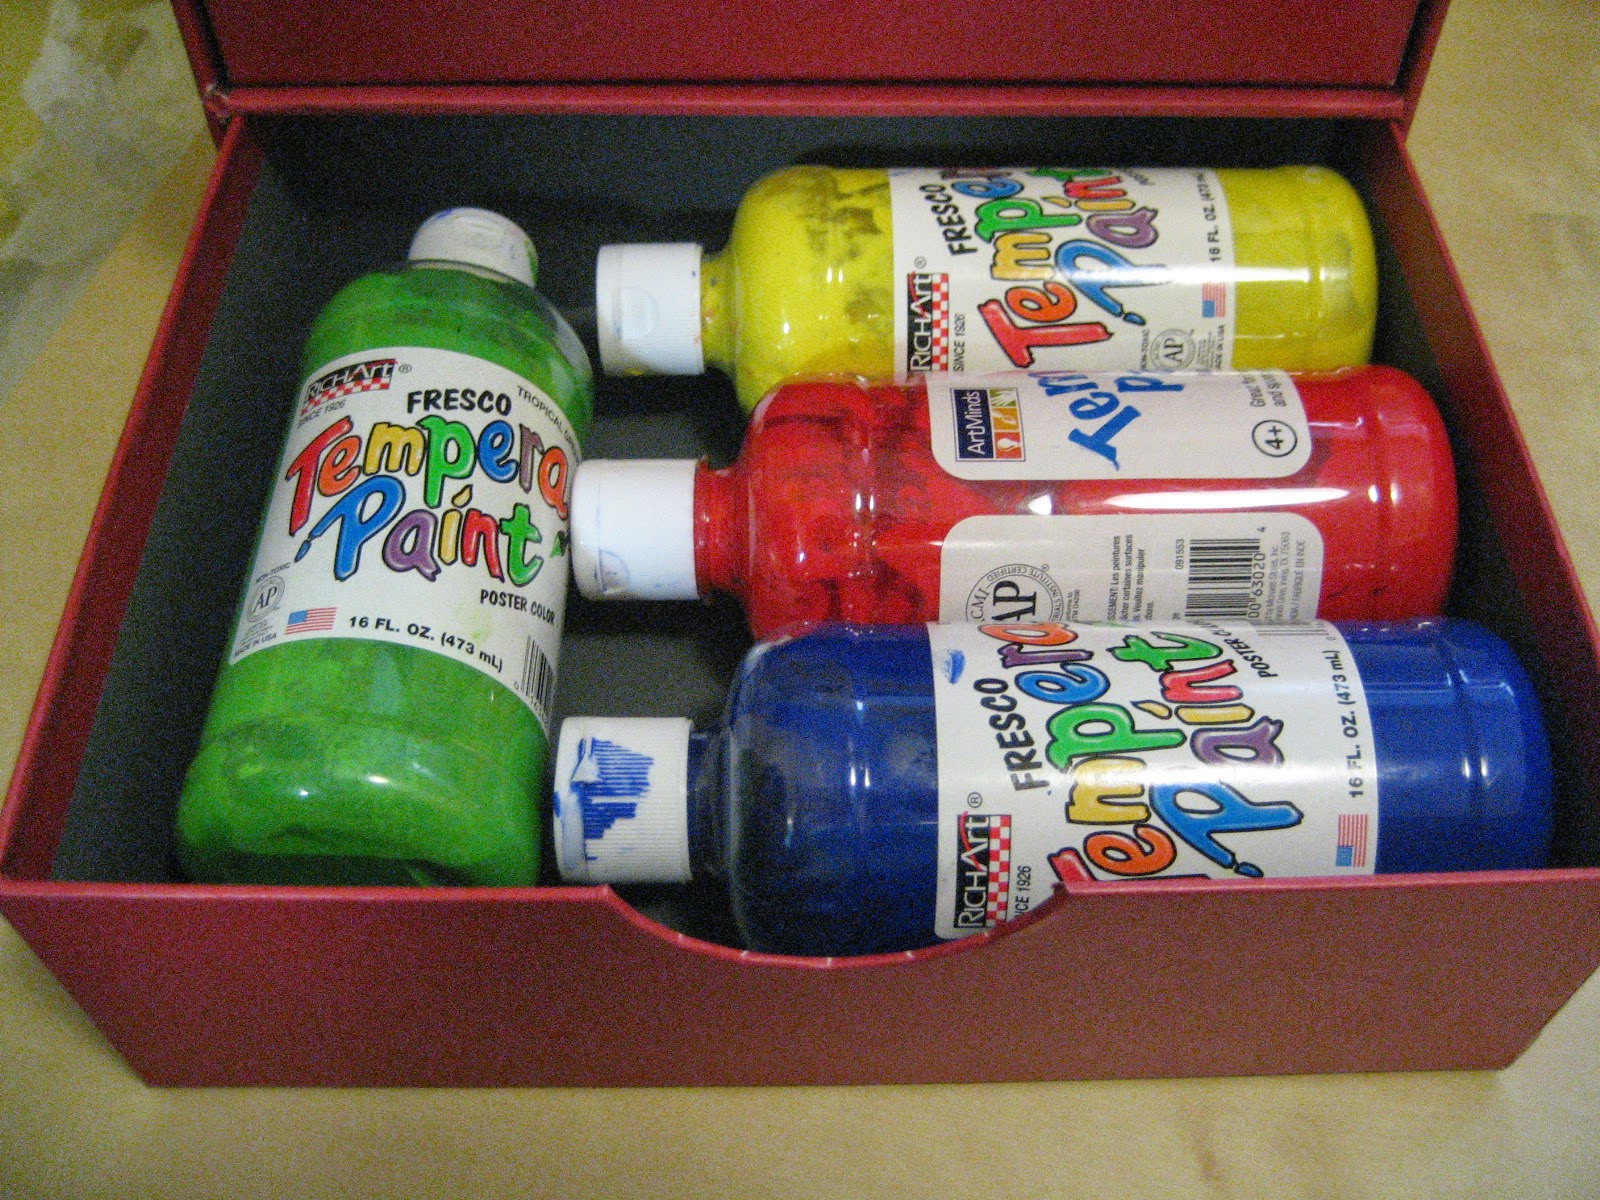
And the last drawer holds the big tempera paints.


I placed it in the cubby with room to spare on top and a little on the side.  I put some extra paint accessories on top and watercolour paper on the side.  And that's it.


It's not that we paint all that often but knowing it's now sorted and organized makes me happy.  It might even encourage me to break out the paints more often!

Blessings,
Christina


Related Posts Plugin for WordPress, Blogger...